2021年11月23日星期二

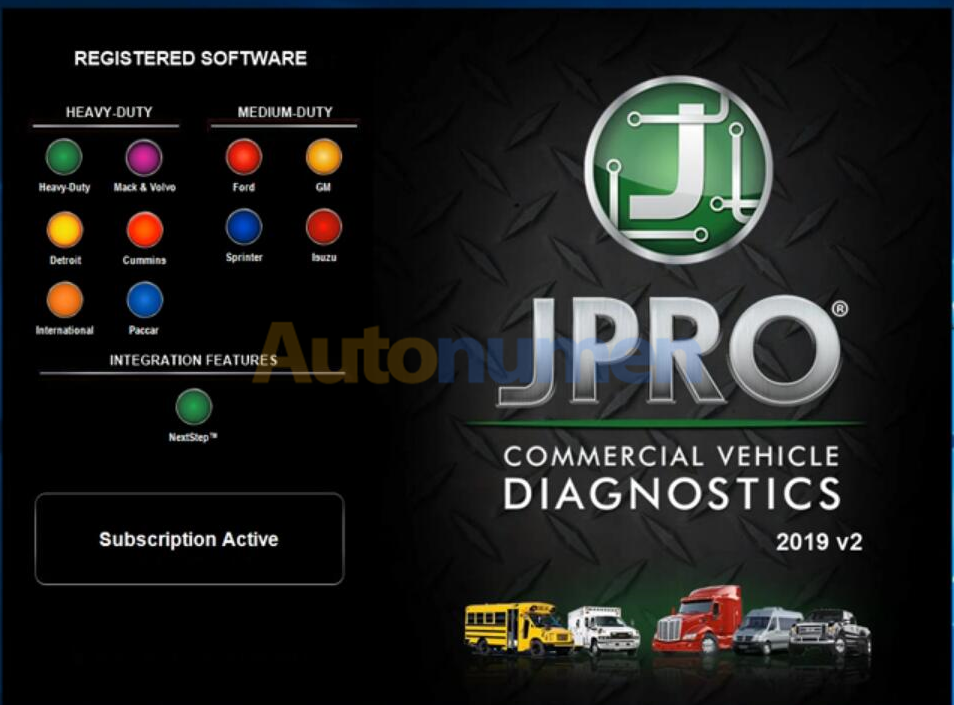
How to install and register the JPRO Professional software 2019 v2


JPRO® Professional is the most comprehensive and powerful all makes, all models diagnostic tool available in the industry today. In one, easy annual subscription, JPRO provides a complete & unparalleled diagnostic service & repair solution with bi-directional functionality.

Next Step Service Information module helps speed up repair times by providing users with detailed engine repair information and troubleshooting guides for ABS and Transmissions – with the click of a button.

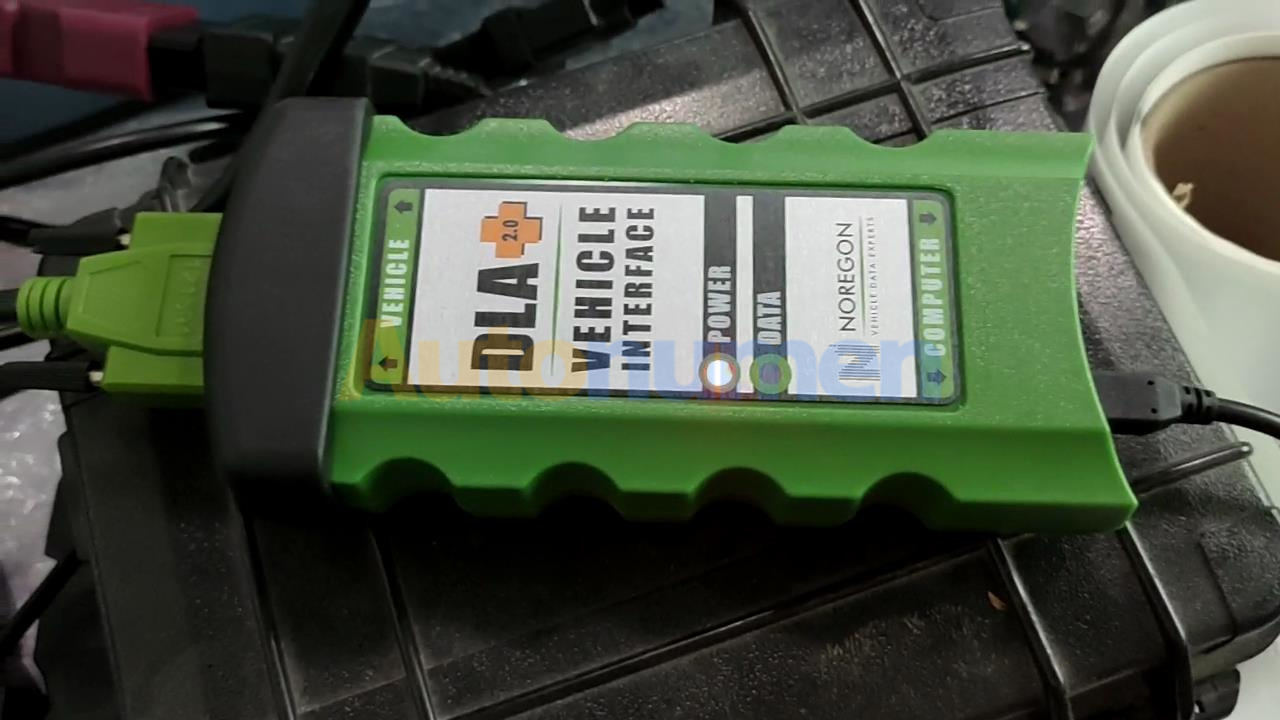
Noergon’s DLA+ 2.0 adapter is a diagnostic communication device designed to interface between a vehicle and PC via USB cable for diagnostic and vehicle information, re-programming or parameter adjustments.

Noregon JPRO Commercial Fleet Diagnostics 2019v2 Installation and Activation

Part 1. How to Install JPRO Professional software 2019 v2
How to Install and Resigter JPRO Professional software 2019 v2-1

1.Close all other running applications.
2.Insert the JPRO® USB Flash Drive into a USB port on your computer.
3.Open Windows/File Explorer and click on the USB drive.
4.Double click the “Setup” file to launch the installation window.
Internet connectivity is required for registration.

5.Click the “Install JPRO“ button. Follow the on-screen installation instructions.
6.When the installation has completed, close the Installation screen.
7.Install the DLA drivers by clicking the “Install DLA Drivers”
button.
8.Follow the on-screen instructions and the separate DLA QuickStart Guide to complete the installation.

Part 2. How to Resigter JPRO Professional software 2019 v2

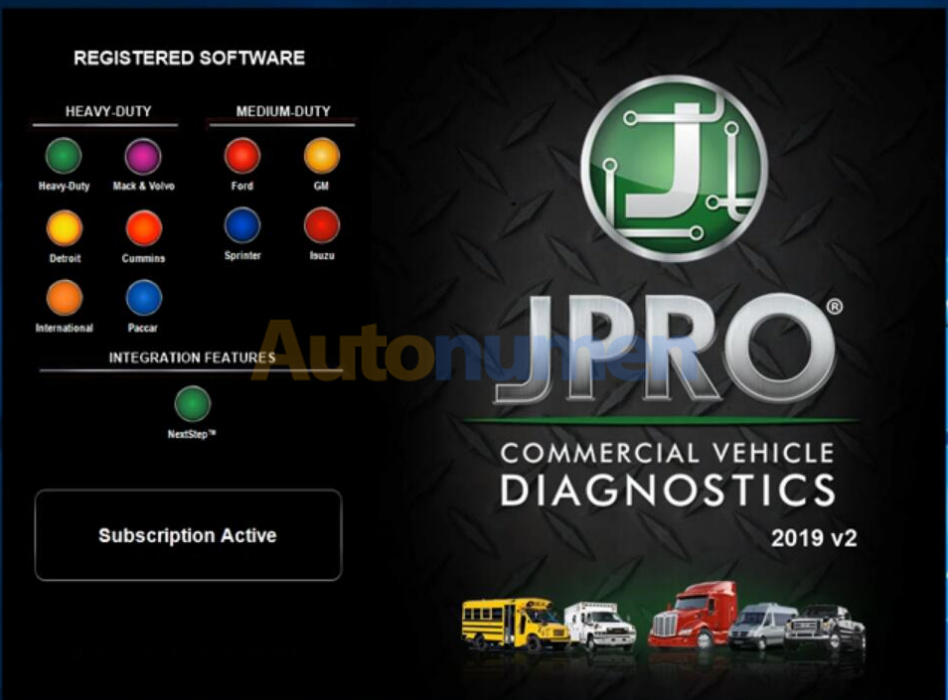
1.JPRO Commercial Vehicle Diagnostics requires registration before the application may be used. Double-click the application’s icon located on the desktop. You will be prompted to register the product.
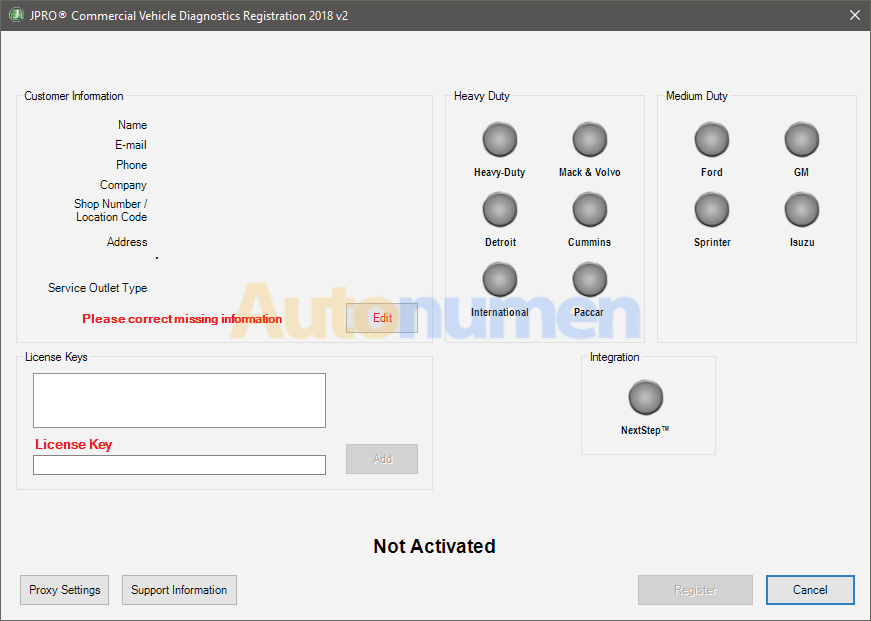
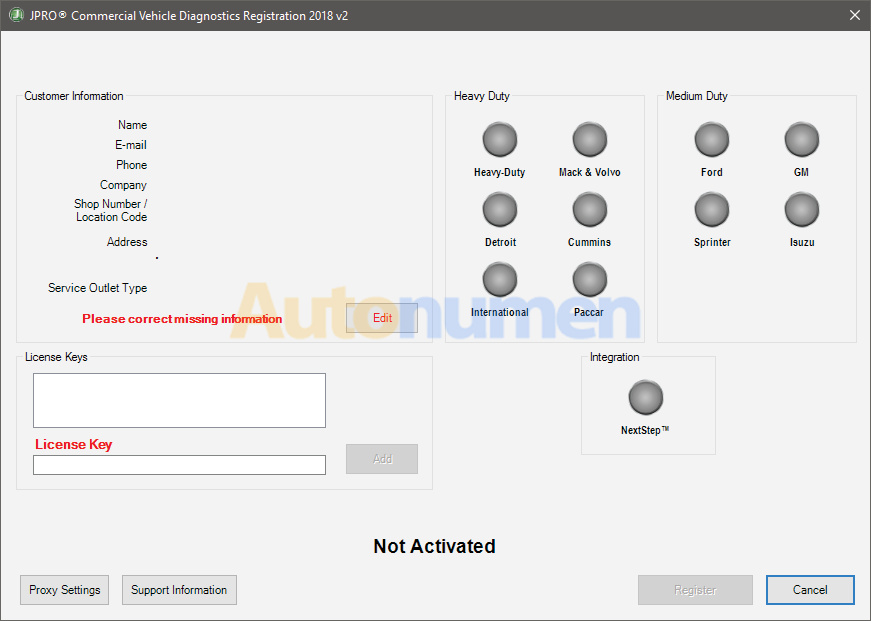
2.Click the “Edit” Button in the Customer Information section to add your contact information. You will be required to provide an email. It must be a valid email that you can access.
3.Enter all license keys that you purchased in the License Key designated area and click the “Add” button.
How to Install and Resigter JPRO Professional software 2019 v2-2

4.Click the “Register” button. The information will be sent to Noregon’s licensing servers over the internet. The licensing servers will send you an email with a confirmation code. You must provide the confirmation code when prompted in order to complete the activation process.
Internet connectivity is required for registration.
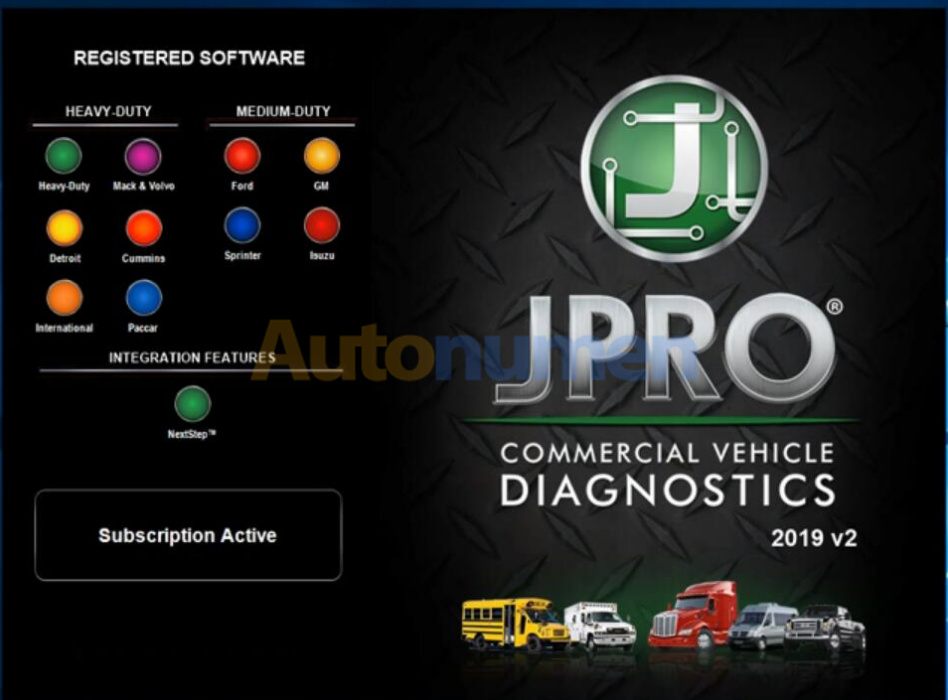
5.Once registration is successful, you may begin using JPRO Professional.
6.Click “Help” then select “View User’s Guide” from the JPRO® Professional main toolbar for detailed information about application features. You can also access the User’s Guide by clicking “Connect” from the main menu then clicking the “How To” button from the Connect Window.

2021年11月9日星期二

JPRO Professional Software ECU Function Test


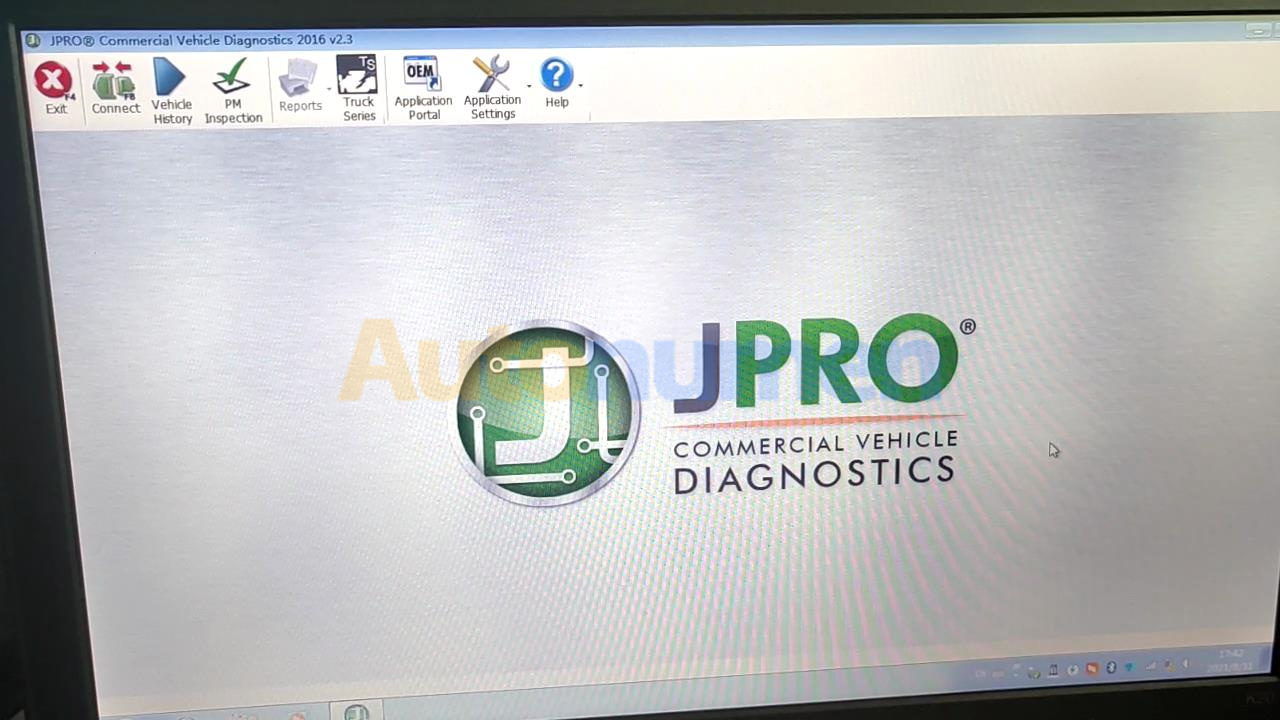
JPRO® Professional is the most comprehensive and powerful all makes, all models diagnostic tool available in the industry today. In one, easy annual subscription, JPRO provides a complete & unparalleled diagnostic service & repair solution with bi-directional functionality.

Next Step Service Information module helps speed up repair times by providing users with detailed engine repair information and troubleshooting guides for ABS and Transmissions – with the click of a button.

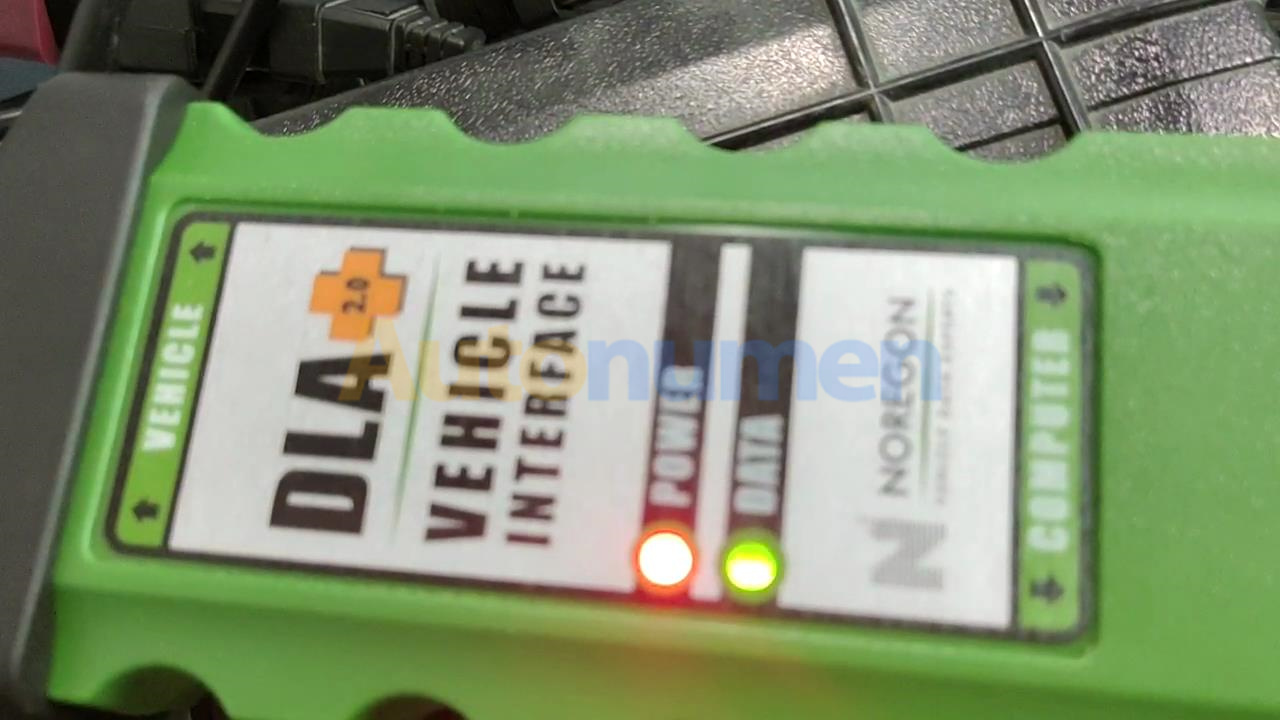
Noergon’s DLA+ 2.0 adapter is a diagnostic communication device designed to interface between a vehicle and PC via USB cable for diagnostic and vehicle information, re-programming or parameter adjustments.

FEATURES:
1.Includes Heavy-Duty Modules: Mack, Volvo, Cummins, Detroit Diesel, International & PACCAR
2.Includes Medium-Duty Modules: Ford, GM, Isuzu & Sprinter
3.Bi-Directional Controls – Perform parameter changes (Mack & Volvo), DPF Regens (Mack, Volvo, Cummins, Detroit Diesel, International & PACCAR) & bi-directional tests with proprietary data & faults
4.OE Level Fault Code Information – Display over 99% of Heavy-Duty & Medium-Duty fault codes with detailed OEM level component and trailer descriptions
5.Fault Management – Clears faults and diagnoses all vehicle components in a single, easy to use application
6.Vehicle Reporting – View and print log files, including: Vehicle Health, Trip Reports & LOV Reports
7.Store & Save Data – Record data log files for playback at a later time, even away from the truck
8.Total Vehicle Health Status – See the entire vehicle in one pass on one screen + Up-to-Date – Provides 99% coverage of all heavy-duty truck DTCs through 2016 or 2019(It depends on the software chosen by the customer)

JPRO Heavy Duty Dignostic Tool Includes:
1.Software on DVD-ROM with Keygen and Drivers
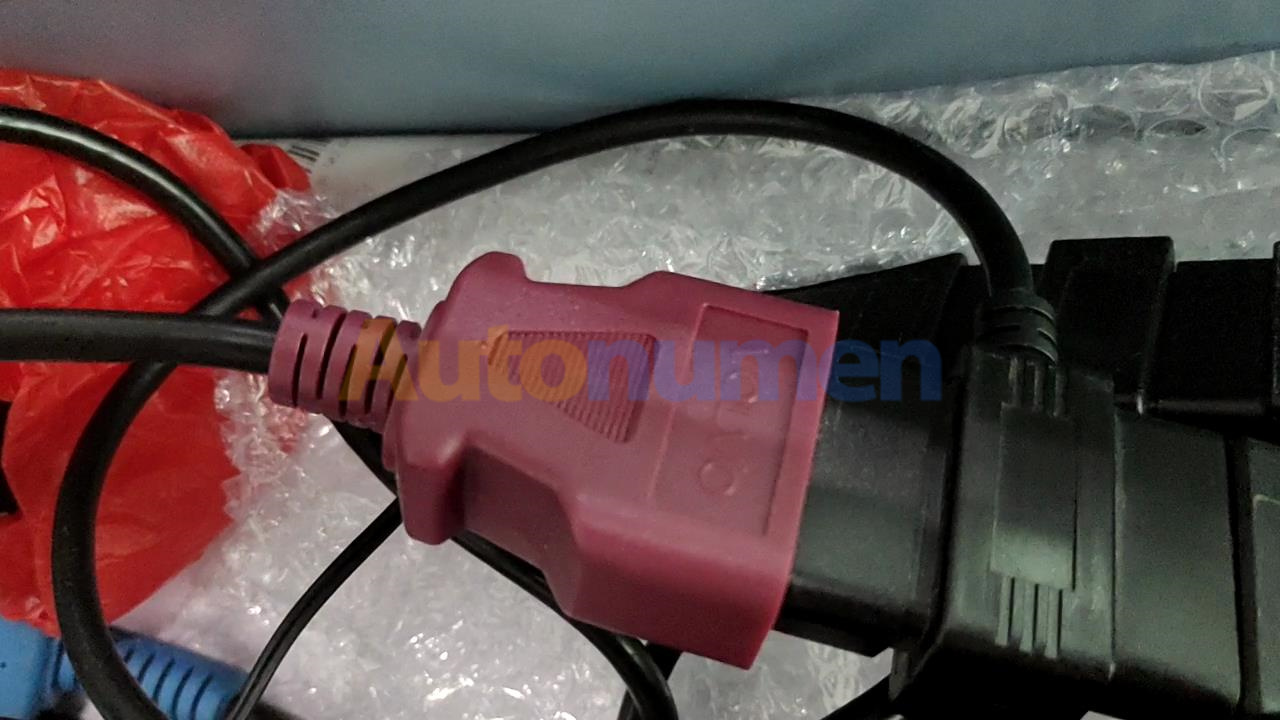
2.JPRO DLA+ 2.0 Adapter Cable
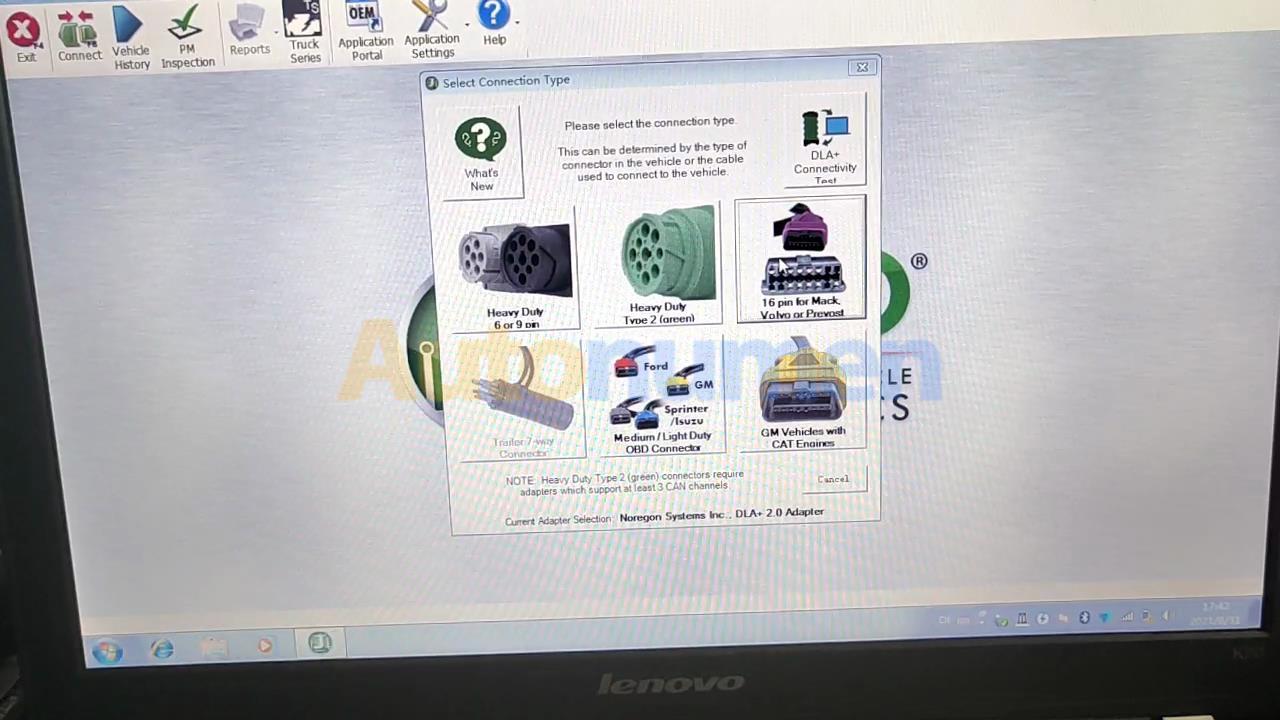
3.Heavy-Duty Vehicle Cables Type 2 Vehicle Cables (6-Pin & 9-Pin)
4.Medium-Duty Type-B OBDII Cables (Ford, GM, Sprinter/Hino/Isuzu, Mack & Volvo)
5.USB Cable

JPRO Professional Software ECU Function Test
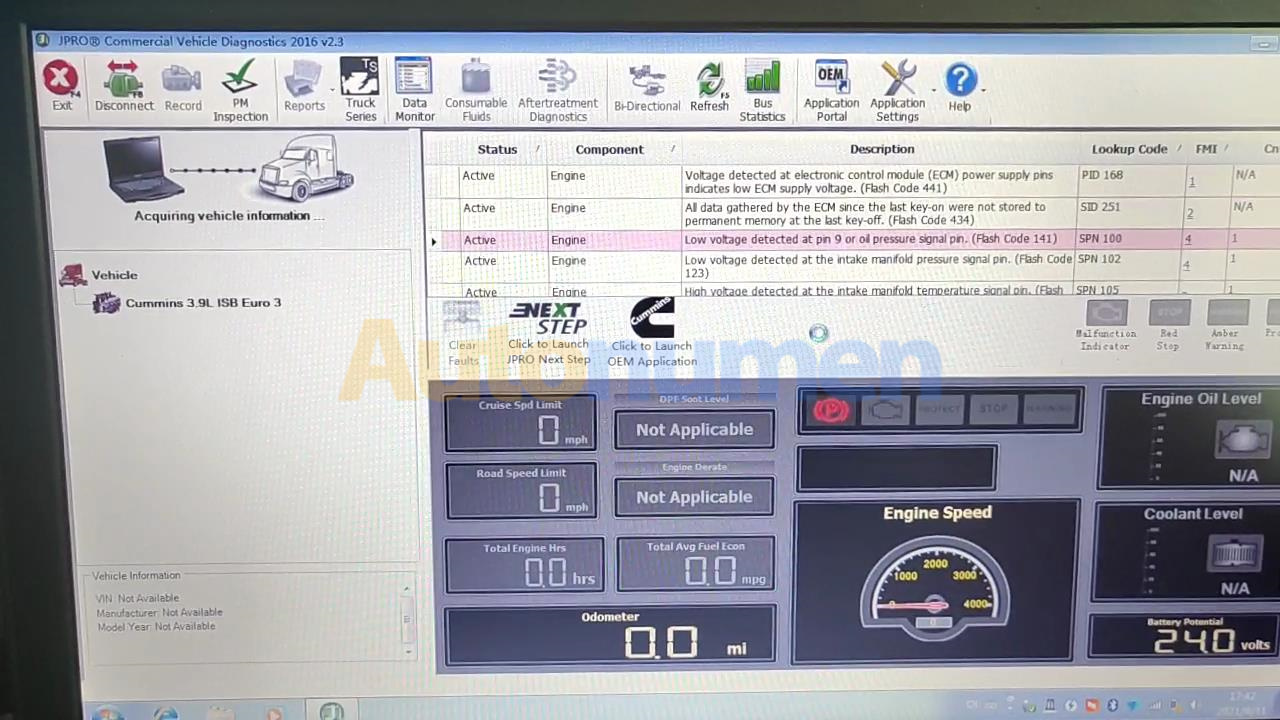
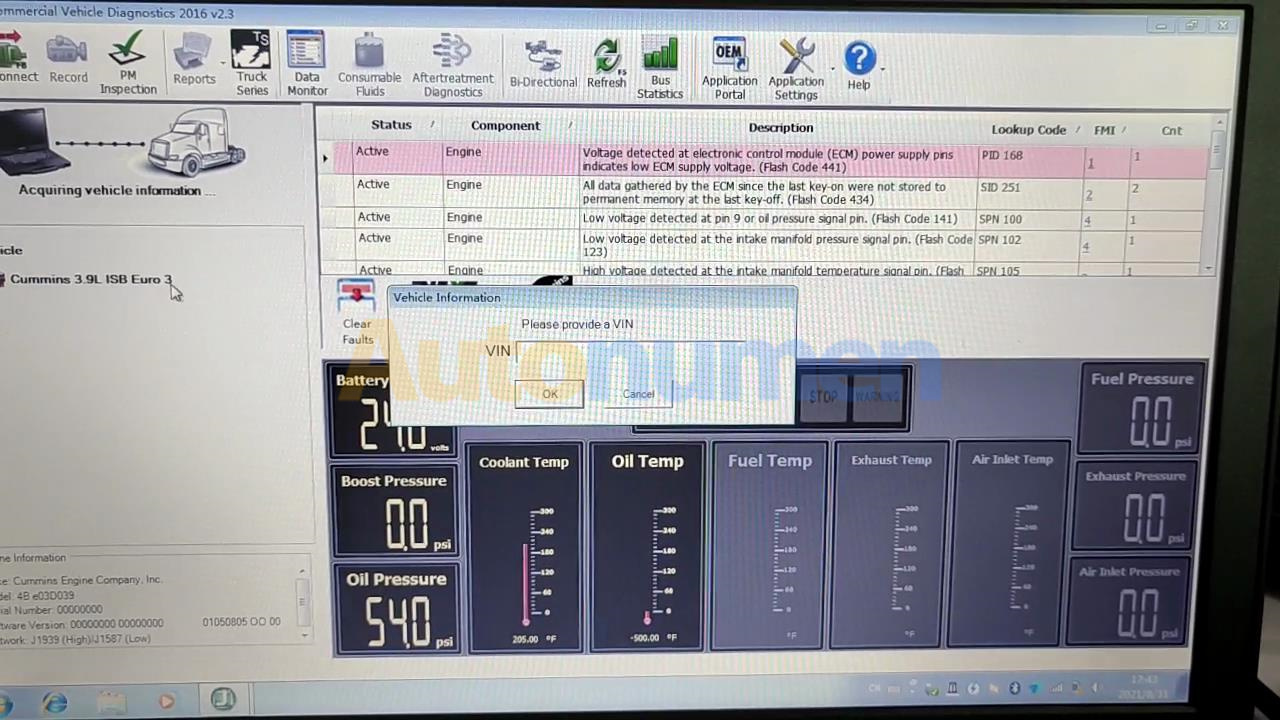
JPRO Professional Software ECU Function Test-1 JPRO Professional Software ECU Function Test-2 JPRO Professional Software ECU Function Test-3 JPRO Professional Software ECU Function Test-4 JPRO Professional Software ECU Function Test-5 JPRO Professional Software ECU Function Test-6 JPRO Professional Software ECU Function Test-7

2021年11月2日星期二

How to Install and Resigter JPRO Professional software 2019 v2


JPRO® Professional is the most comprehensive and powerful all makes, all models diagnostic tool available in the industry today. In one, easy annual subscription, JPRO provides a complete & unparalleled diagnostic service & repair solution with bi-directional functionality.

Next Step Service Information module helps speed up repair times by providing users with detailed engine repair information and troubleshooting guides for ABS and Transmissions – with the click of a button.

Noergon’s DLA+ 2.0 adapter is a diagnostic communication device designed to interface between a vehicle and PC via USB cable for diagnostic and vehicle information, re-programming or parameter adjustments.

Noregon JPRO Commercial Fleet Diagnostics 2019v2 Installation and Activation

Part 1. How to Install JPRO Professional software 2019 v2
How to Install and Resigter JPRO Professional software 2019 v2-1

1.Close all other running applications.
2.Insert the JPRO® USB Flash Drive into a USB port on your computer.
3.Open Windows/File Explorer and click on the USB drive.
4.Double click the “Setup” file to launch the installation window.
Internet connectivity is required for registration.

5.Click the “Install JPRO“ button. Follow the on-screen installation instructions.
6.When the installation has completed, close the Installation screen.
7.Install the DLA drivers by clicking the “Install DLA Drivers”
button.
8.Follow the on-screen instructions and the separate DLA QuickStart Guide to complete the installation.

Part 2. How to Resigter JPRO Professional software 2019 v2

1.JPRO Commercial Vehicle Diagnostics requires registration before the application may be used. Double-click the application’s icon located on the desktop. You will be prompted to register the product.
2.Click the “Edit” Button in the Customer Information section to add your contact information. You will be required to provide an email. It must be a valid email that you can access.
3.Enter all license keys that you purchased in the License Key designated area and click the “Add” button.
How to Install and Resigter JPRO Professional software 2019 v2-2

4.Click the “Register” button. The information will be sent to Noregon’s licensing servers over the internet. The licensing servers will send you an email with a confirmation code. You must provide the confirmation code when prompted in order to complete the activation process.
Internet connectivity is required for registration.
5.Once registration is successful, you may begin using JPRO Professional.
6.Click “Help” then select “View User’s Guide” from the JPRO® Professional main toolbar for detailed information about application features. You can also access the User’s Guide by clicking “Connect” from the main menu then clicking the “How To” button from the Connect Window.
2021年10月26日星期二

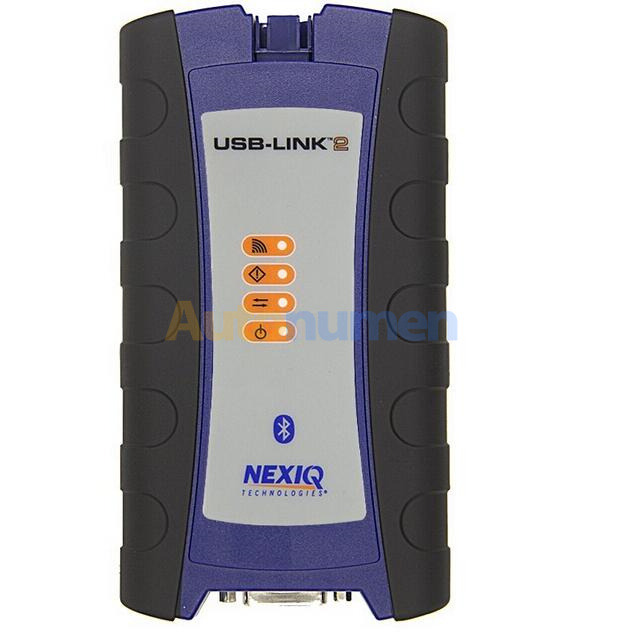
How to get Nexiq USB Link to work with Cat ET software


I’m here to help you guys confirm that:

The Nexiq adapter is able to work perfectly with Caterpillar Electronic Technician software.

Nexiq has no problems working with Cat ET. If the Cat is in a GM truck, you will need a special Cat OBDII connector. In trucks with the standard 6/9 pin connector, there is no issues.

Works on BHL F-series , Whl excav. and wheel loaders, but better option is Cat ET

Nexiq adapters work with Cat ET on truck engines.

NOT work on construction equipment due to a different communication protocol. Will need a Cat Comm 3 for those.

Btw, spend the money on a real Nexiq or good china clone if you do….stay away from the cheap china knockoffs. They work, kinda, but for how long and no support.

This is a working china clone Nexiq adapter at a good price

Here are Nexiq USB Link adapter and CAT ET connection issues and solutions, which might help you out.

– Connection Error 434:

The reason for error 434 might be the adapterserver in the Cat software, change it for the chinese Cat server and it will work, at least here it does after the 434 error, C:\Program Files (x86)\Common Files\Offboard Information Products, look here for “”CommunicationAdapterServer.exe”and “CommunicationAdapterServerps.dll” by me dll file was not there but I put it anyway, I copied it from a other XP computer who was working with the chinees cat adapter, however I put it in a WIN 7 computer, that was working too after the change, I m new here have no idea how to share the files, but I have them here, save the original files in a new folder, never know if you ever get a original one (-: , hope that I could help you with this info

– Connection Error 149:

Utilities -> Preferences -> Communications -> RP1210 Compilant Device then Advanced Choose USB Nexiq Link

If it doesn’t work,

Reinstall drivers and verify that you have this in the device manager

JUNGO USB LINK WINDRIVER if you missing one of this it wont work

OR

You need to run this program in compatibility mode for windows xp, sp 3 to get the nexiq to work on windows 7. i was getting the same notice that my nexiq was not a rp1210 compliant device, i went to programs and selected cat (etech), right clicked, properties, compatibility, and chose windows xp sp3. went back to cat, and the device works perfectly now. That will fix this issue

– Cannot connect to any truck after Nexiq firmware update:

No need to be updated because the result would be the same it will not work, simply reformat the laptop or use an additional USB adapter.It has been my tried and succeeded.You simply reinstall firmware v1.0

remember where the first time you connect the USB port, meaning the usb port 1, port2 on the laptop.You can also look in computer management \ device manager \ Jungo \ there should be a USB device \ windriver.Good luck.

If you are using WIN XP. / WIN 7/8 you have to reinstall the PC / notebook / formate driver C / REMEMBER Coppy your data if only one partition.After you install all the software and nexiq drives, usb vincle nexiq connect to a PC / notebook to install the new one.If you find welcom to the found new hardware wizard or click cancel driver updates.Open Computer Management \ Device Manager \ Jungo \ if there is a usb device that is an exclamation point, click disable usb device And off usb nexiq of the computer after the reinstall usb nexiq to the computer and then click enable usb device and then restart your computer and unplug the usb nexiq back of the computer.Do the same on the other port.Good luck.

Connect to a computer usb nexiq vehicle.CAUTION cancle welcome to the new hardware found.go to Control panel \ administrative tools \ computer management \ device manager \ Jungo – usb device — click disable – unplug usb nexiq vehicle from computer.Then connect back to the computer usb vehicle nexiq — click enable usb devices – usb nexiq vehicle back off of the computer — restart the computer .
How to get Nexiq USB Link to work with Cat ET software-1

2021年10月20日星期三

XTOOL X100 PAD2 All Key Lost Programming for Honda Civic 2015 Smart Key


This post show the operations of how to use XTOOL X100 PAD2 to program smart key for Honda Civic 2015 smart keys.

Procedures:

Connect Xtool X-100 PAD II to Honda Civic

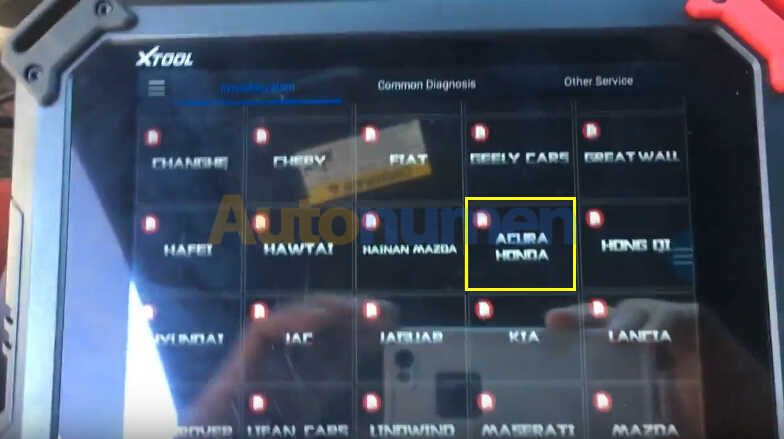
Enter the menu to select vehicle model “ACURA/Honda”

XTOOL X100 PAD2 All Key Lost Programming for Honda Civic 2015 Smart Key-1

Agree the “Disclaimer”

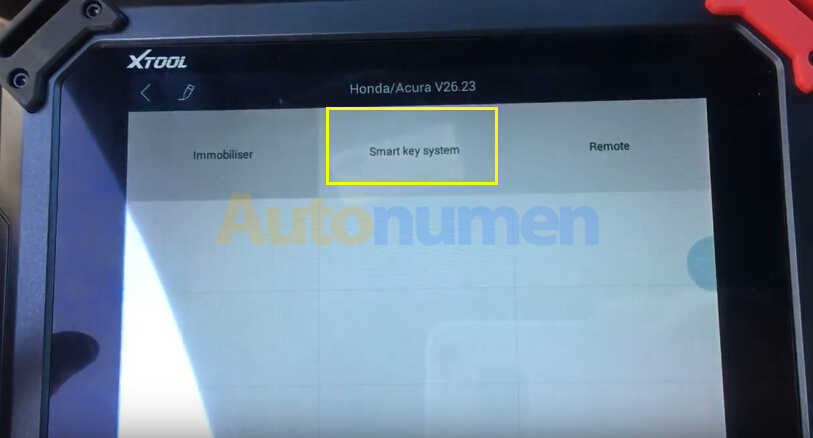
Select “Smart Key System”

XTOOL X100 PAD2 All Key Lost Programming for Honda Civic 2015 Smart Key-2

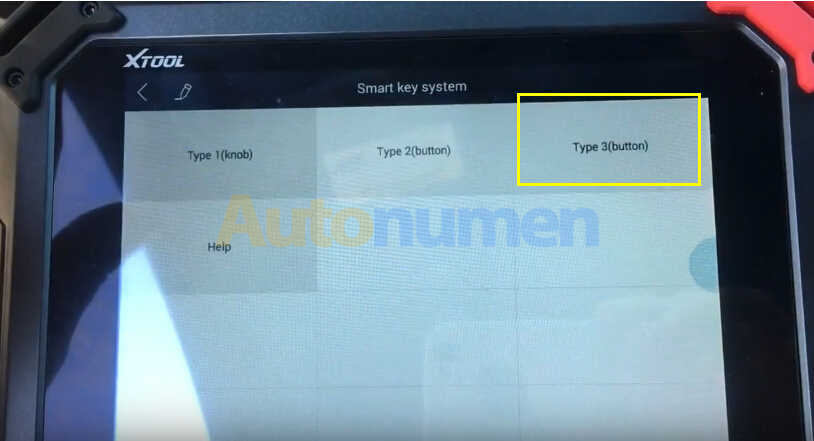
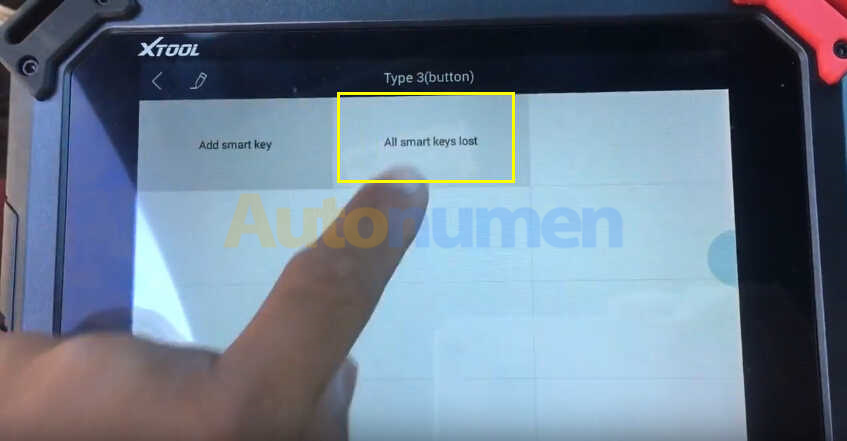
Select “Type 3(button)”

XTOOL X100 PAD2 All Key Lost Programming for Honda Civic 2015 Smart Key-3

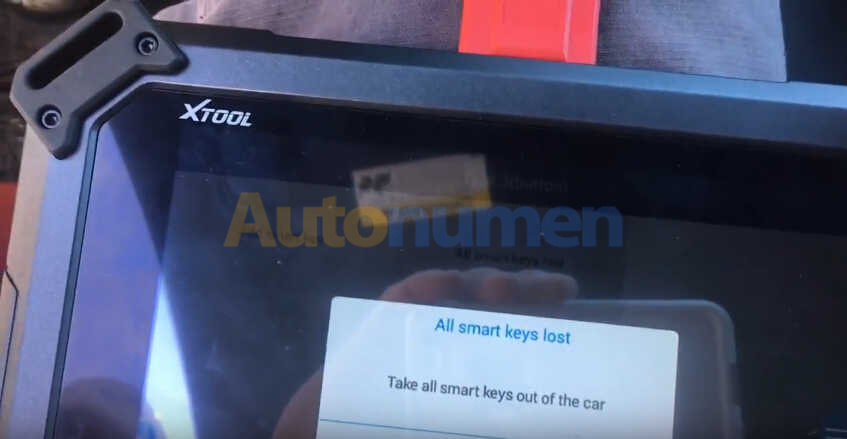
Select “All smart keys lost”

XTOOL X100 PAD2 All Key Lost Programming for Honda Civic 2015 Smart Key-4

Follow the instruction to take all smart keys out of the car

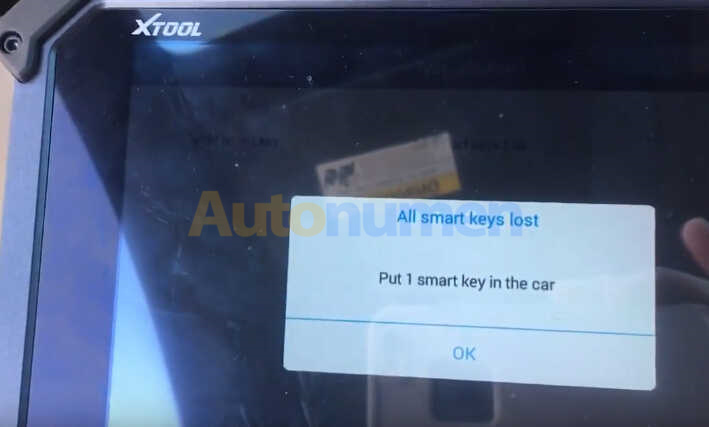
Then click “OK” to continue

XTOOL X100 PAD2 All Key Lost Programming for Honda Civic 2015 Smart Key-5

Put 1 smart key in the car

XTOOL X100 PAD2 All Key Lost Programming for Honda Civic 2015 Smart Key-6

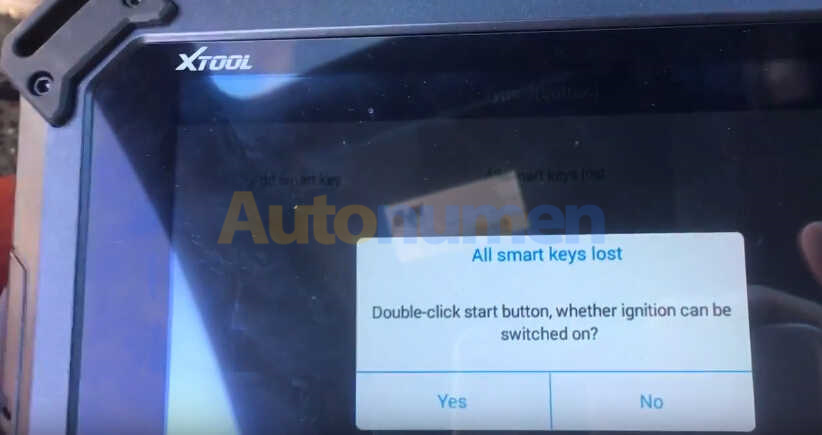
Double-click start button,whether ignition can be switched in?

Try it,here i click “Yes”

XTOOL X100 PAD2 All Key Lost Programming for Honda Civic 2015 Smart Key-7

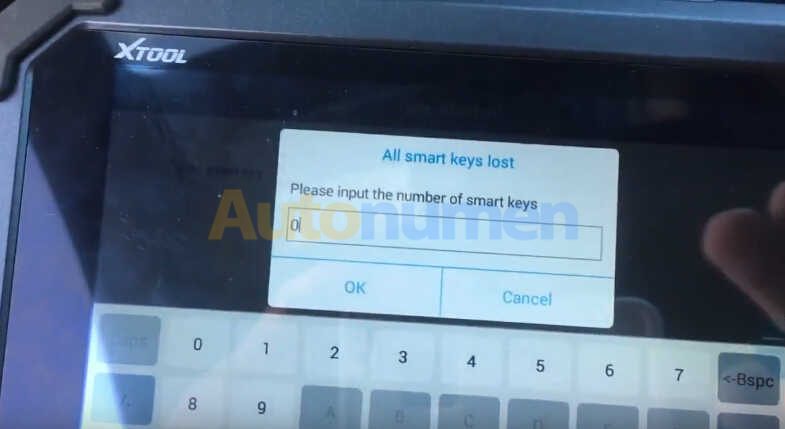
Please input the number of smart keys

XTOOL X100 PAD2 All Key Lost Programming for Honda Civic 2015 Smart Key-8

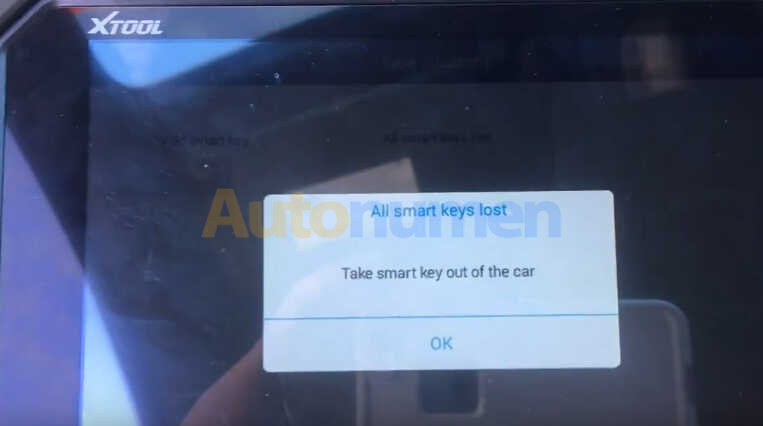
Take smart key out of the car

XTOOL X100 PAD2 All Key Lost Programming for Honda Civic 2015 Smart Key-9

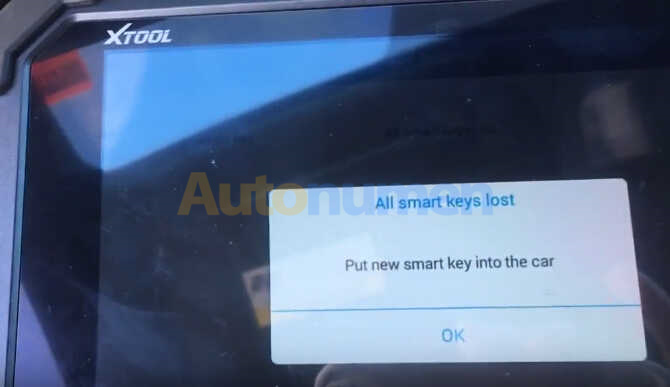
Put new smart key into the car

XTOOL X100 PAD2 All Key Lost Programming for Honda Civic 2015 Smart Key-10

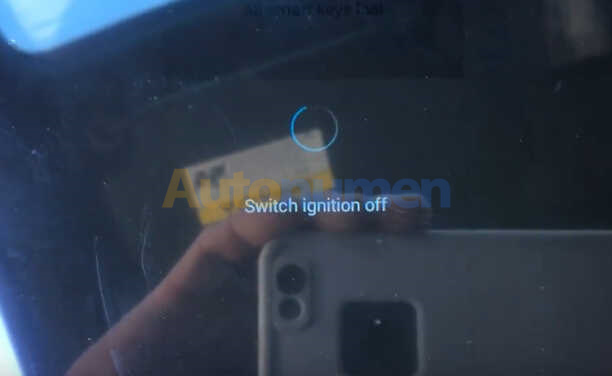
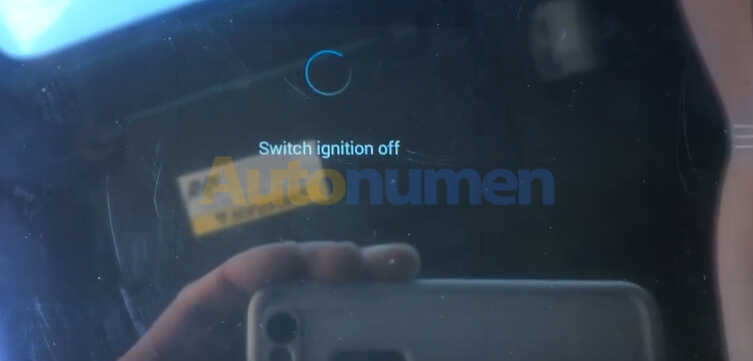
Switch ignition off

XTOOL X100 PAD2 All Key Lost Programming for Honda Civic 2015 Smart Key-11

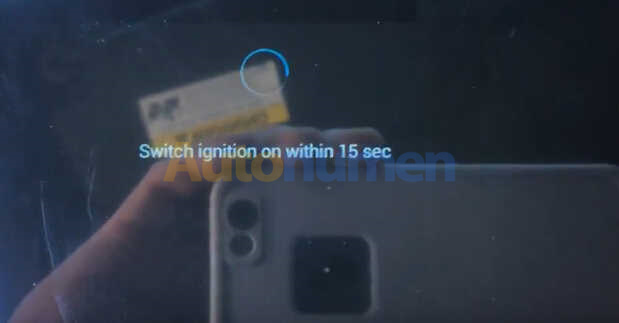
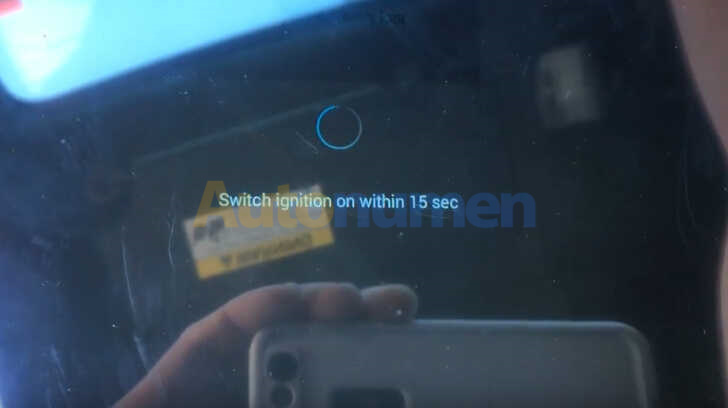
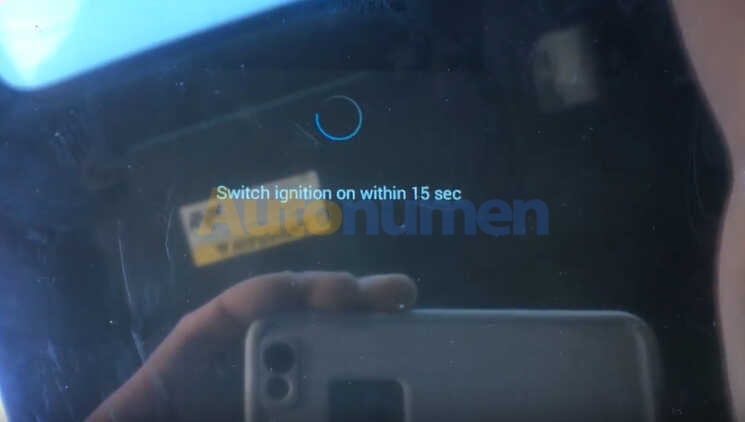
Switch ignition on within 15 seconds

XTOOL X100 PAD2 All Key Lost Programming for Honda Civic 2015 Smart Key-12

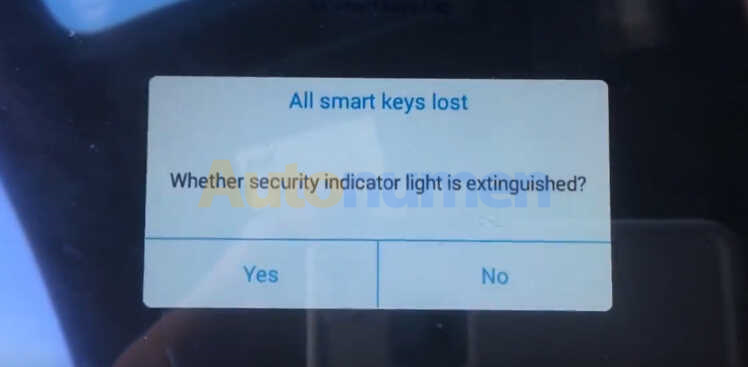
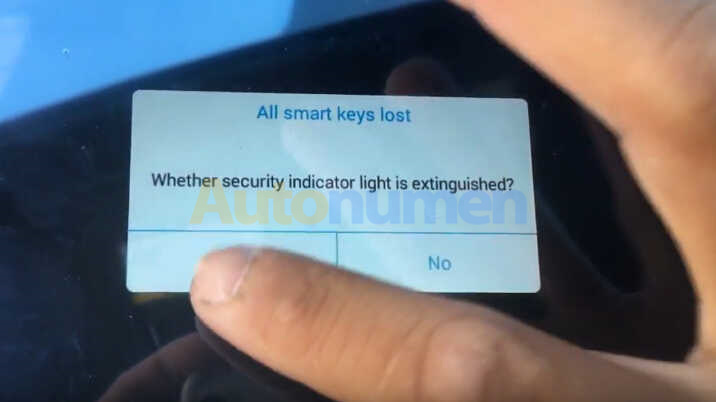
Whether security indicator light is extinguished?

Here click “Yes”

XTOOL X100 PAD2 All Key Lost Programming for Honda Civic 2015 Smart Key-13 XTOOL X100 PAD2 All Key Lost Programming for Honda Civic 2015 Smart Key-14

Switch ignition on within 15 seconds

XTOOL X100 PAD2 All Key Lost Programming for Honda Civic 2015 Smart Key-15

Switch ignition off

XTOOL X100 PAD2 All Key Lost Programming for Honda Civic 2015 Smart Key-16

Switch ignition on within 15 seconds

XTOOL X100 PAD2 All Key Lost Programming for Honda Civic 2015 Smart Key-17

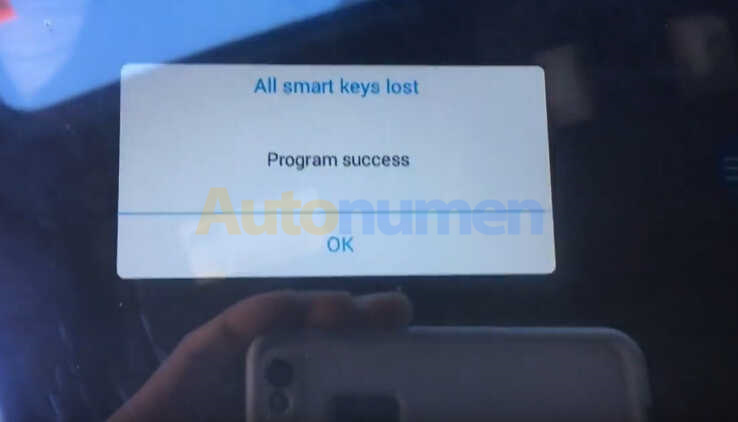
Program success

XTOOL X100 PAD2 All Key Lost Programming for Honda Civic 2015 Smart Key-18

2021年10月19日星期二

Test the Connection to the Vehicle using NEXIQ Device Tester


Test the Connection to the Vehicle
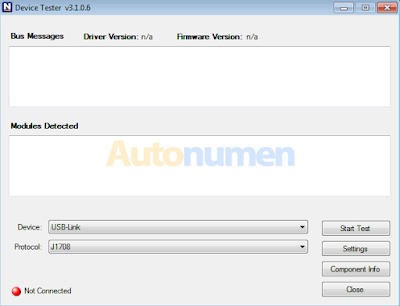
Test the Connection to the Vehicle using NEXIQ Device Tester-1

Use the Device Tester to test the connection between the USB-Link and the vehicle. At startup, the Device Tester checks for any NEXIQ drivers installed on the PC.
-Download NEXIQ Product Driver here: NEXIQ Driver

Access the Device Tester from the Windows task-bar
1. Prepare your PC, and connect Heavy Duty Truck Scanner NEXIQ device to Diagnostic Port/Connector on unit.
2. Click Start and then select All Programs – NEXIQ – Device Tester, or through shortcut “Device Tester” on desktop.
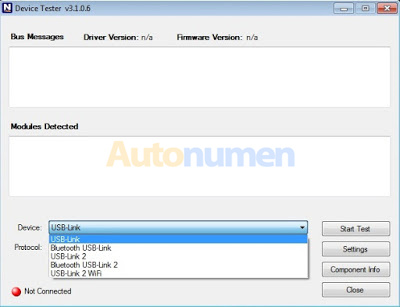
Test the Connection to the Vehicle using NEXIQ Device Tester-2

3. Use the drop-down button in the “Device” box to select the appropriate device (for example: USB-Link). The Device box lists all the devices supported by the NEXIQ drivers installed on the PC.
Test the Connection to the Vehicle using NEXIQ Device Tester-3

4. Use the drop-down button in the “Protocol” box to select the appropriate protocol (for example: J1708). The Protocol box lists only the protocols supported by the device selected in the “Device” box.
Test the Connection to the Vehicle using NEXIQ Device Tester-4

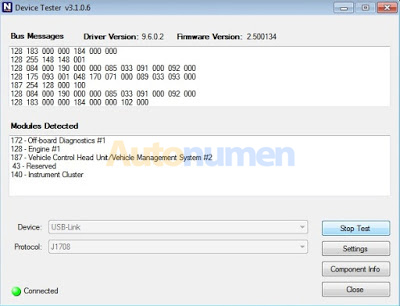
5. Press the “Start Test” button.
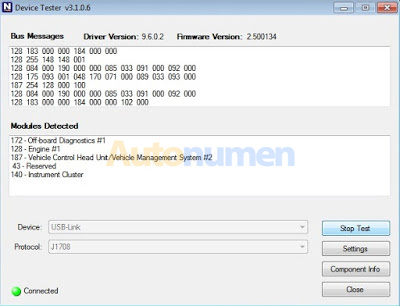
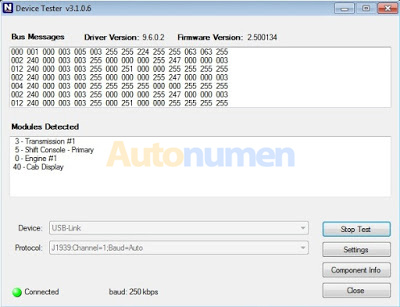
6. The “Device Tester” screen is refreshed, and data received from the vehicle bus is displayed in the “Bus Messages” window.
Test the Connection to the Vehicle using NEXIQ Device Tester-5
Test the Connection to the Vehicle using NEXIQ Device Tester-6

NOTE: The window in the lower portion of the screen displays a list of all systems seen on the bus. It is used for J1708 and J1939 only. For all other protocols this window will be unavailable (i.e., NOT USED). For J1708, the window title reads MIDs Seen. For J1939, the window title reads Source Addresses Seen.

Preparing to Use the USB-Link
7. If the Connection Indicator button is red (i.e., Not Connected), do one of the following:
—For wireless connection using Bluetooth technology:
? In the Device list, make sure that the heading is BT USB-Link (Protocol desired).
? Check to ensure that the connections between the USB-Link and the vehicle are secure (i.e., the Diagnostic Connector).
? Check to make certain that the Power LED on the USB-Link is illuminated.
? Check to make sure you are “paired” with devices.

—For wired connection using a USB cable:
? In the Device list, make sure that the heading is USB-Link (Protocol desired).
? Check to ensure that the connections between the USB-Link and PC are secure (i.e., the USB cable).
? Check the connections between the USB-Link and the vehicle (i.e., the Diagnostic Connector).
? Check to make certain that the Power LED on the USB-Link is illuminated.

8. Click “Stop Test” to end the test, or select another device to test.

2021年10月12日星期二

the highly effective diagnostic tool JPRO Professional heavy-duty truck scan toolJPRO

the highly effective diagnostic tool JPRO Professional heavy-duty truck scan tool JPRO Professional heavy duty truck scan tool uses the most comprehensive diagnostic software you can find on the market today.
the highly effective diagnostic tool JPRO Professional heavy-duty truck scan toolJPRO -1

The powerful software uses enhanced OEM fault-code information with ACM resets and cylinder cut-outs capabilities.

Moreover, it has an inbuilt Next Step Services Information that helps speed up the time taken to repair a truck.

As a result, you will be able to access digital photos, complete wiring, and installation information. Finally, it comes with a troubleshooting guide that makes diagnosis a no-brainer task.
Features and functionalities

JPRO Professional heavy-duty truck scan tool is a number one trusted scan tool by most car technicians. Do you want to know why? The secret is in what it can do.

Here a comprehensive look at the features.
1. Bi-directional controls
It is capable of performing parameter changes for Volvo and Mack.

Equally, JPRO Professional heavy-duty truck scan tool can perform DPF Regens for Detroit Diesel, Cummins, Volvo, Mack, and Internationals.

All these tests are bi-directional with proprietary faults and data.
2. OE level fault code information

Display 99% for both medium-duty and heavy-duty fault codes with a comprehensive OEM level component as well as the trailer descriptions.
3. Include heavy and medium-duty modules

Heavy-duty modules include PACCAR, international, Detroit Diesel, Cummins, Volvo, and Mack. The medium-duty modules include sprinter, Isuzu, GM, and Ford.
4. Fault management

It is capable of clearing faults as well as making a quick diagnosis with easy to use application.
5. Vehicle reporting

With the heavy duty diagnostic scanner JPRO Professional scan tool, you can view and subsequently print logo files comprising LOV reports, Trip Reports, and Vehicle Health.
6. Store and save data

Effectively record all the data log files with playback capabilities even when not connected to the truck.
7. Comprehensive vehicle health status

In a single pass, you can be able to see the entire vehicle.
8. JPRO professional user diagnostic software

It has powerful software, a DLA 2.0 adapter, and the Panasonic Toughbook for enhanced diagnosis.
9. Ease of use and compatibility

It has 9-pin Heavy-Duty Cable, OBDII Cables, 6-pin Heavy-Duty Cable, and USB Cable.

JPRO Professional heavy-duty truck scan tool is a highly effective diagnostic tool with many advantages.